


When you choose to exclusively breastfeed your baby, it means you’re responsible for all of her feedings, whether you’re together or apart. So when you’re a mom who works outside of the home, naturally some of those “feedings” will take place at the office. Pumping at work takes commitment, but it’s completely doable!
First, Talk to Your Employer
Whether it’s your supervisor or member of your HR department, talk to someone you feel comfortable with about your plans to supply your baby with breast milk. You’ll want to identify a private room in your office with an electrical outlet in which you can pump.
Under the Affordable Care Act, employers are required to provide a place, other than a bathroom, that is shielded from view and free from intrusion by coworkers or the public. The space does not have to be exclusively dedicated to the nursing mother’s use, but it must be available for her when needed.
The room I pump in at work was previously a “hang out” room that was being under-utilized, but look at it, now! I spend quite a bit of time in here, so I appreciate my employer going above and beyond.
[easy-image-collage id=55795]
It’s not required of your employer to provide a mini fridge or breast pump, but it doesn’t hurt to ask. The worst they can say is no! You may also be able to get a free breast pump through your insurance provider. Ask, ask, ask!
What You’ll Need at Work
Other than your designated, private room, here’s what you’ll need to have at the office:
- Refrigerator to store your breastmilk (If using a communal fridge, put your milk inside a lunch pail or container so it doesn’t easily get knocked over!)
- A comfortable chair
- Access to a sink
- Electric breast pump
- Tubing for breast pump
- Liquid dish soap
- Napkins/wipes in your pumping room (because spills/drippage WILL happen!)
- Expressed-milk storage baggies
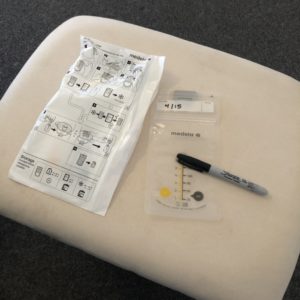
- Sharpie marker to specify the date and amount of milk
What You’ll Need to Bring to Work
Along with wearing a breastfeeding friendly outfit, here’s what you’ll need each day so you’re ready to pump! I suggest packing these items the night before so they’re ready to go in the morning.
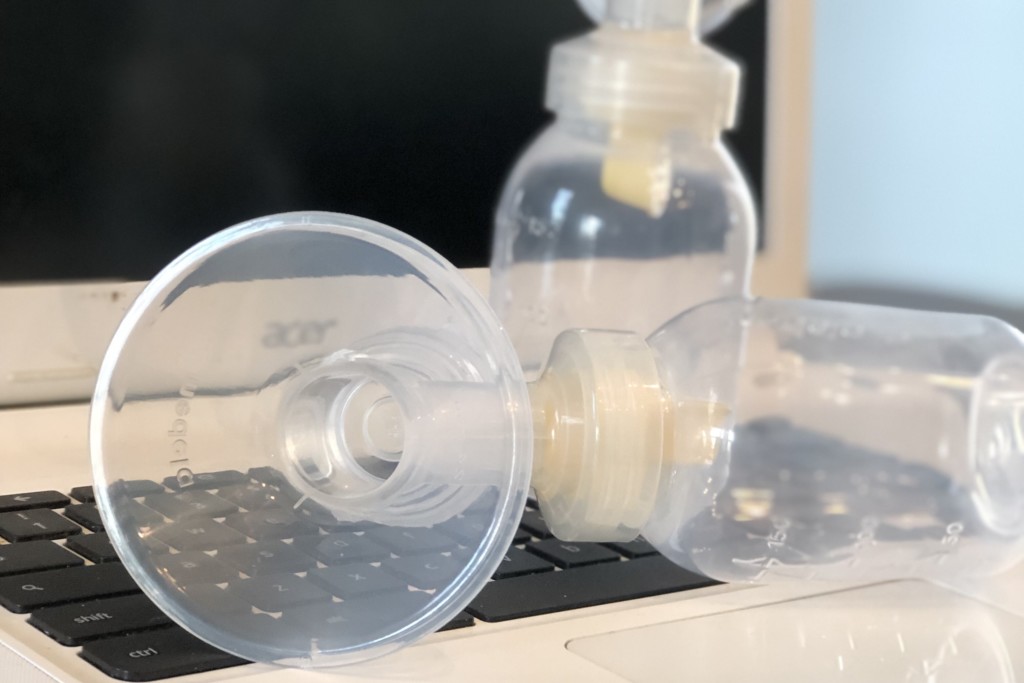
- Clean breast-pump accessories
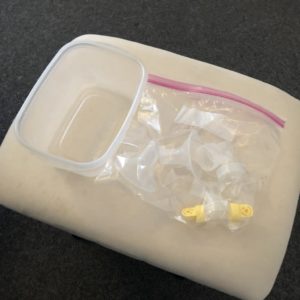
- Zip-lock baggy to store accessories
- Small Tupperware to clean accessories
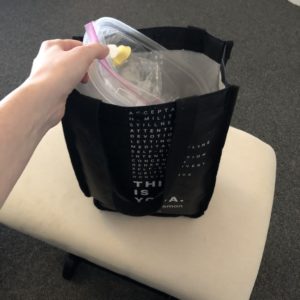
- Small tote to transport your supplies
What You (Probably) Don’t Need
- A special bra.
Yes, there are pumping bras out there that allow you to go “hands-free,” but they may not be necessary. I simply slide the suction pieces underneath my regular nursing bra and they stay in place just fine! If you have large breasts, you may need more support to go hands-free. But test it out with your regular nursing bra before you invest in yet another bra! - A special carrying case.
Yes, pumping bags exist, but I’ve found that reusable store bags, like this one from Lulu Lemon, work perfectly for me since I’m not transporting a breast pump.
Pumping Frequency
To maintain your supply, you’ll need to pump about every three hours. So, if you work an 8-9 hour day, plan to pump three times.
The amount of time you spend pumping will vary but plan to devote at least 15-20 minutes to it. I always bring my iPad in with me so I can work while I pump. It’s actually a great way to get some quiet time and focus!
By law, employers are required to provide a reasonable amount of break time as frequently as needed by the nursing mother, for up to one year following the birth of the employee’s child. For provisions from the United States Department of Labor in regards to break time for nursing mothers, click here.
Here’s my nursing/pumping schedule for my now 9-month-old as an example:
6:45 a.m. – Nurse baby at home
9:30 a.m. – Pump at office
12:30 p.m. – Pump at office or nurse baby during lunch break
3:30 p.m. – Pump at office
5:30 – Nurse baby at home
6:00 – Feed baby 2 ounces of solids
7:30 – Nurse baby at home before bed
TIP: Set up reoccurring blocks on your calendar for your pumping sessions. They are sacred!
Sure, you’ll have days where you have to adjust the timing, but try your best not to miss a pumping session. Even dropping one pumping session a day can send a message to your body that it doesn’t need to produce as much milk. You can recover, but it’s easier to stay consistent. Pump for just a few minutes if that’s all you can fit in that day. Anything to get some stimulation going!
My Pumping and Sanitation Process
When it’s time for my pumping session, I take my iPad and tote with my pumping supplies with me to the pumping room.
1. I get situated and then I attach my accessories. On one breast, I use a bottle so I can measure the amount when finished, and on the other, I use a baggy so I can store it. There are easy connect adapters and baggies that adhere to them like this one, but after a little experience, I’ve found that the regular bags rest on the pump accessories pretty easily.
2. On the baggy, I’ll go ahead and write the date so that all I have to do later is write the amount. I’ve found that the baggies that include “measurements” on them are never very accurate, which is why I use the bottle for that.
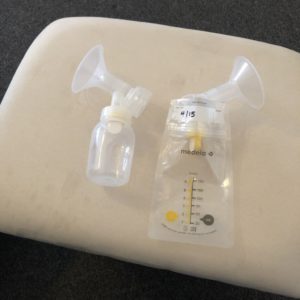
3. Then, I attach my pumping tubes and get to work! I go hands-free by slipping the suction pieces under my nursing bra. While I’m pumping, I work on my iPad. After about 15-20 minutes, the drops get pretty infrequent and slow. Sometimes a little squeezing helps, but it’s generally about time to wrap it up.
4. I pour the milk from the baggy into the bottle to see the full amount between both breasts and then pour everything into the baggy for storage. I mark the amount and put it in the fridge.
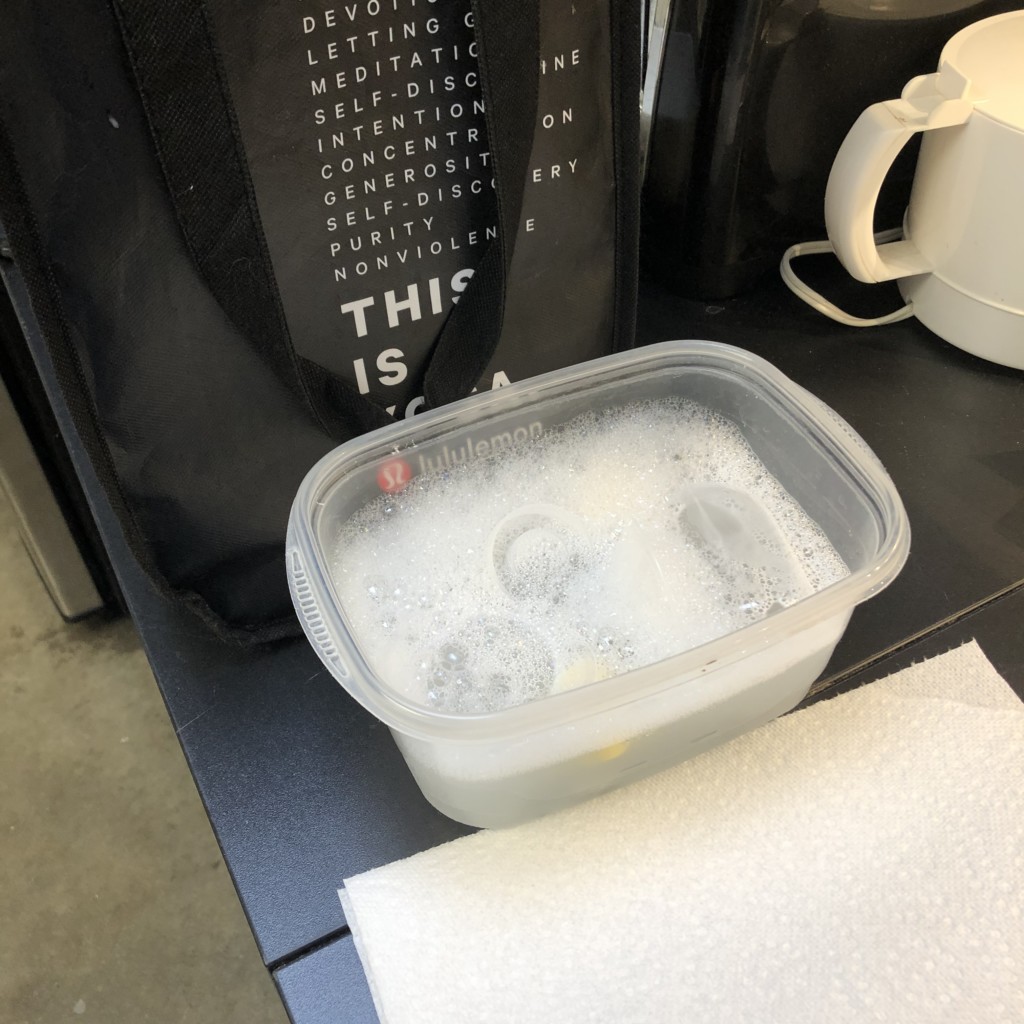
5. I put the used accessories in the small Tupperware and head to the break room to clean them! I do not clean the tubing after each feeding. Just let the breast pump run for a a couple minutes after use to get any built up moisture out of it. About once a month, I’ll take the tubing home and wash it.
6. I fill the Tupperware with hot water and some dish soap and let my pumping accessories soak for about 5 minutes.
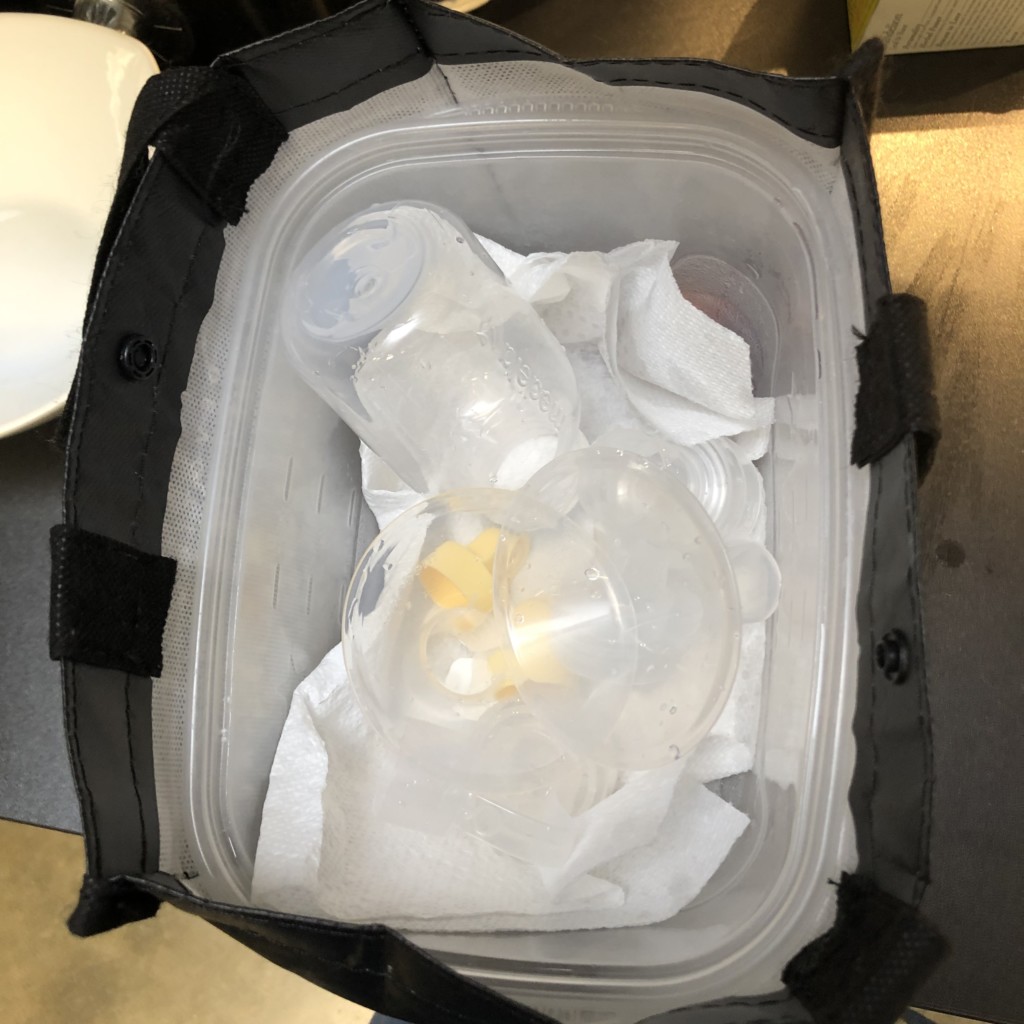
7. I shake the wet accessories over a paper towel to get off the excess water. Then, I put a fresh paper towel inside the Tupperware before placing the accessories back inside to dry.
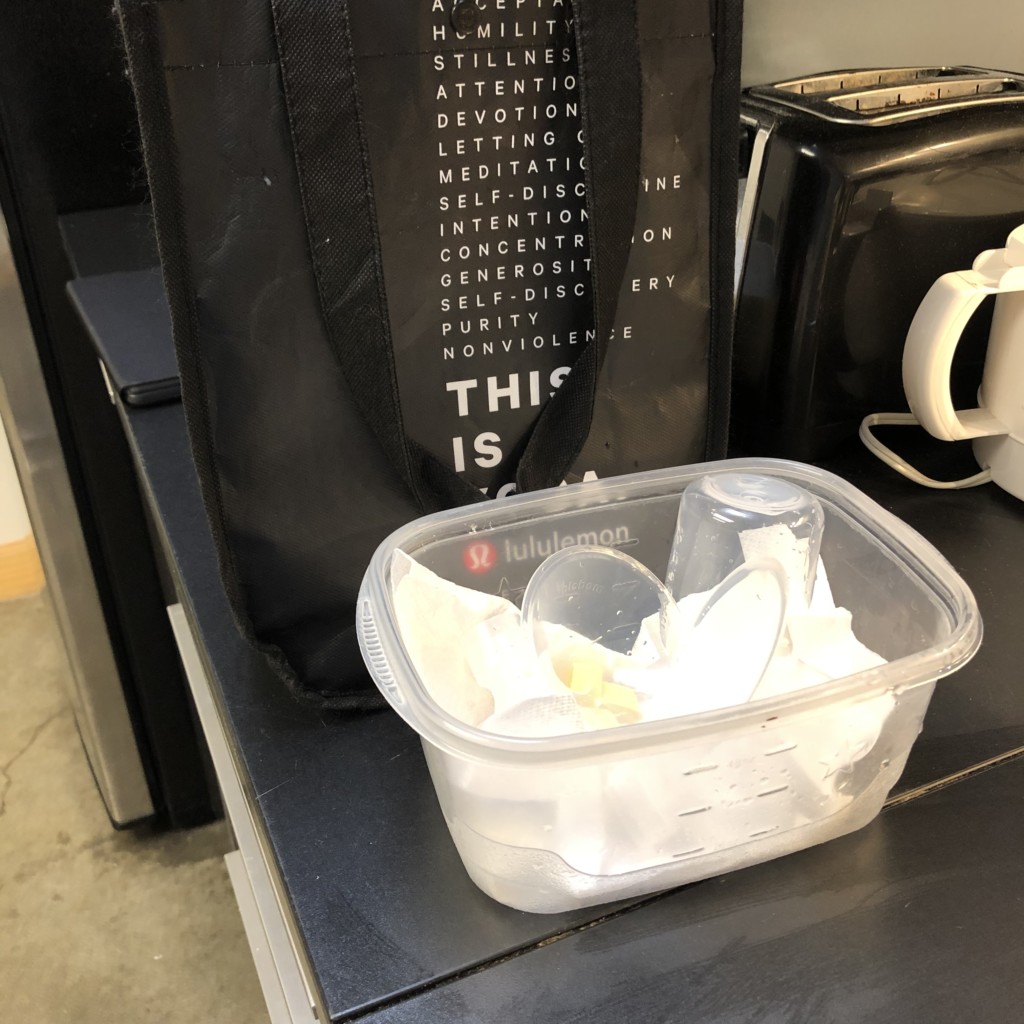
8. I put the Tupperware back in my bag, and it’s all ready for the next pumping session!
TIP: To save time…
I don’t wash my accessories after the last pumping session of the day. Instead, I wait to do that at home.
Another TIP: When you get home, immediately put your expressed milk in your refrigerator or freezer.
I’ve forgotten a couple of times and had to throw my hard-earned milk out, which is very, very sad.
So there you have it!
Pumping at work is a process, but it quickly becomes second nature. Have a plan that works for you, then rinse and repeat (no pun intended).
You go, mama!


